Masterclass
Collapsible content

French Press
Step 1: Preheat Filtered Water, it is important to have the water be as purified as possible to optimize your brew (195° F to 205° F)
Step 2: Grind Coffee Beans Course similar to Sea Salt (1500 to 1600 microns) **recommend burr grinder
Step 3: Add 6 Tablespoons of freshly ground coffee to French Press (33 grams)
Step 4: Pour 200 grams of Hot water on beans in circular motion
Step 5: Gently stir with a spoon until mixed, then let sit for 30 seconds
Step 6: Pour the remainder of the 200 grams of Hot water in the french press
Step 7: Let Brew for 4 minutes
Step 8: Press plunger down half way, then pour coffee and Enjoy!
Home Coffee Machine
Step 1: Pour 11 cups of Filtered Water into water cavern in the back of the machine. It is important to have the water be as purified as possible to optimize your brew
Step 2: Grind Coffee Beans Medium-fine similar to Beach Sand (900 to 1100 microns) **recommend burr grinder
Step 3: Place Coffee Filter paper in Brewer
Step 4: Pour 100 grams of freshly ground coffee into filter
Step 5: Place cleaned, empty carafe under the Brewer
Step 6: Push Brew button
Step 7: Enjoy!
Chemex
Step 1: Preheat Filtered Water, it is important to have the water be as purified as possible to optimize your brew (195° F to 205° F)
Step 2: Grind Coffee Beans Medium-Fine similar to Beach Sand (800 to 1000 microns) **recommend burr grinder
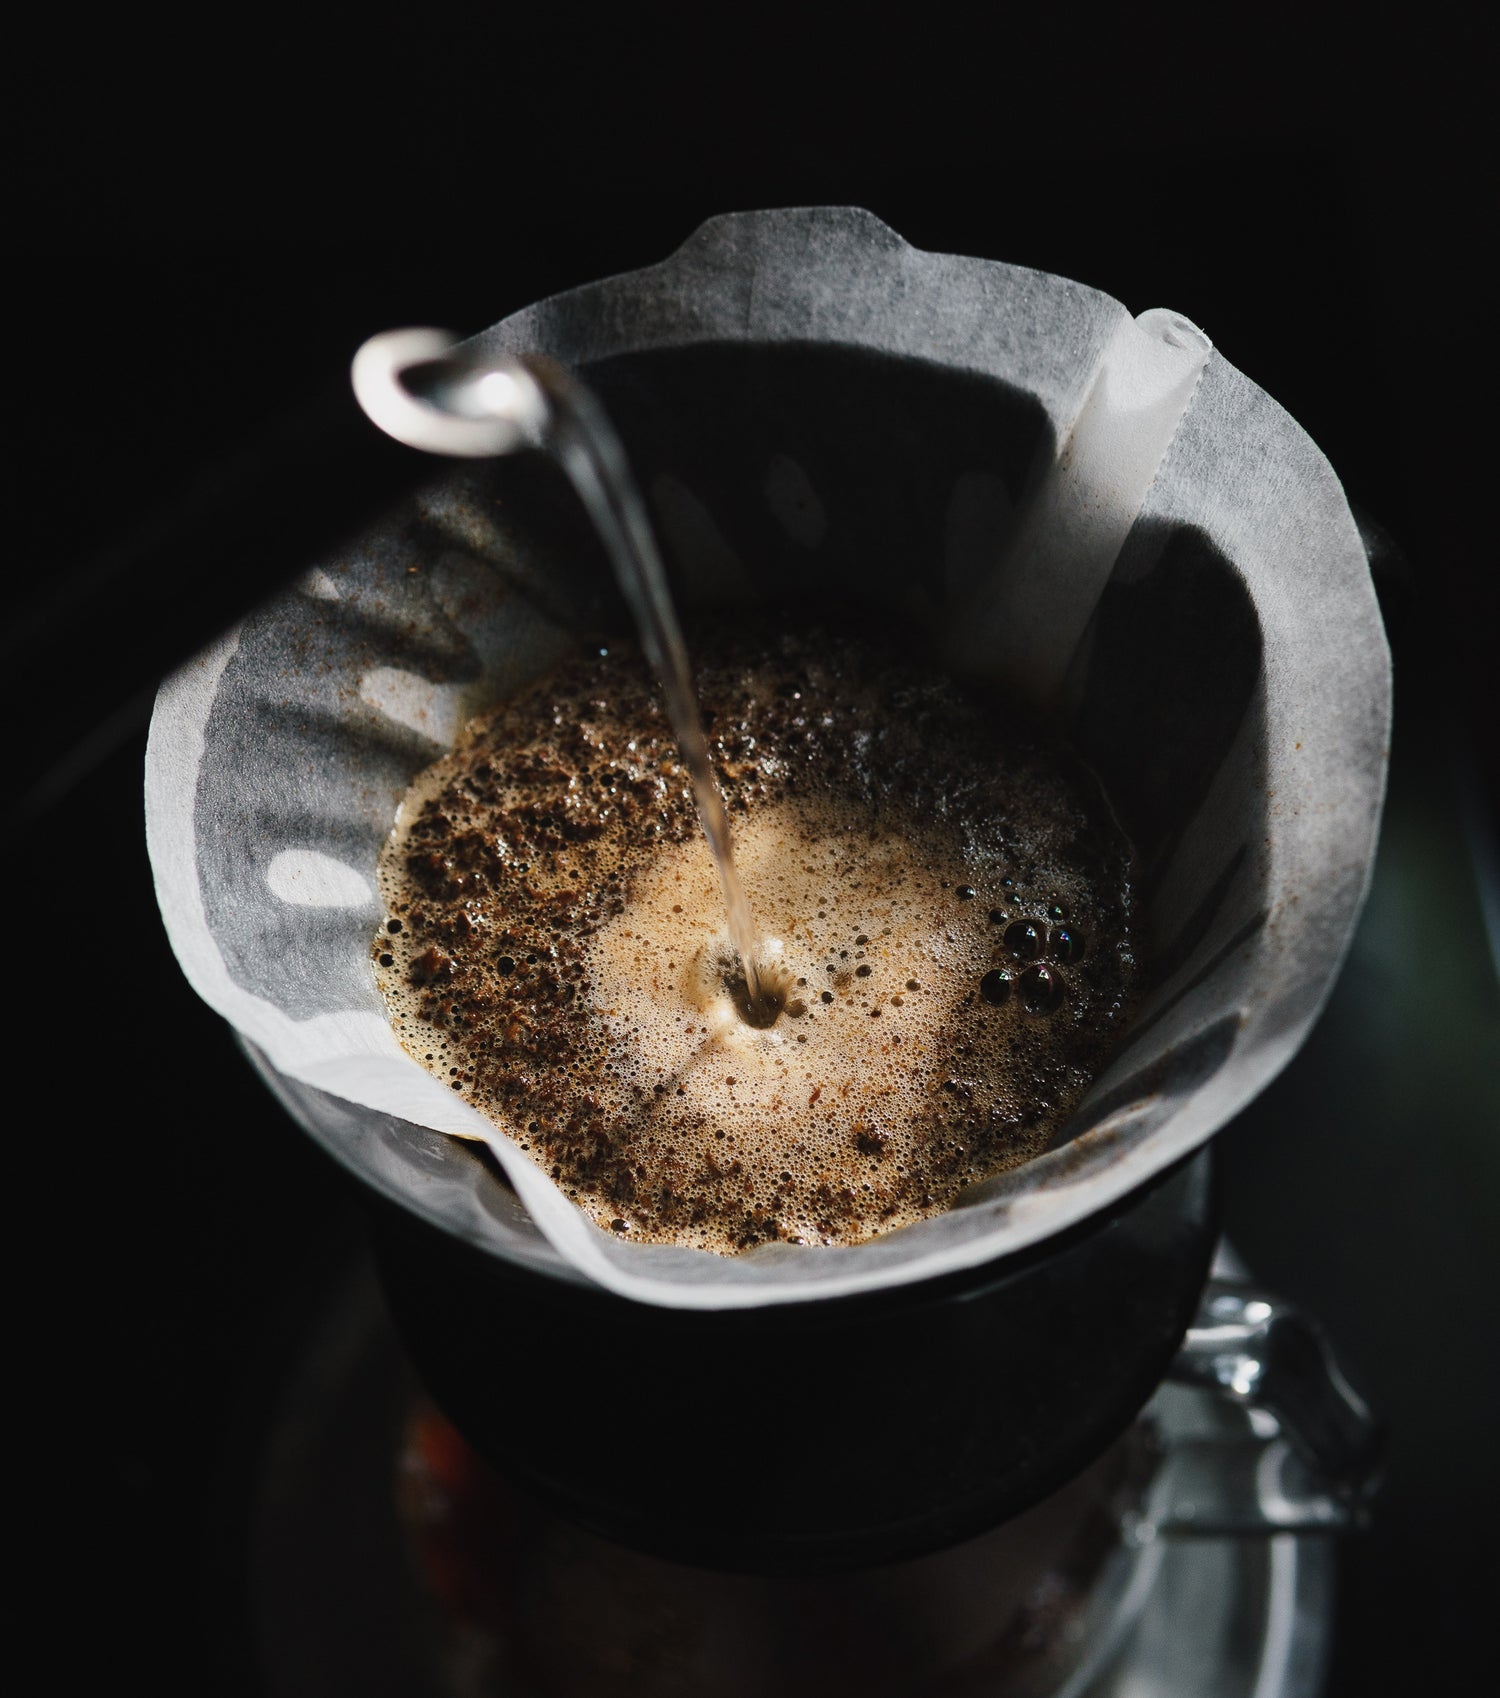
Step 3: Place Chemex/V60 Filter paper in Brewer, pour a circle of Hot Water on to filter paper, then remove excess water from brewer, and replace Filter in brewer
Step 4: Pour 35 grams of freshly ground coffee into filter **optional create a funnel hole in grounds, but only halfway to end of filter
Step 5: Re-zero scale, Pull out stopwatch, start it next step
Step 6: Add 70 grams of Hot water on top of grounds in a circular motion
Step 7: Stir 2 cycles with spoon, Let coffee begin Bloom phase, and watch bubbles arise for 30 seconds
Step 8: Pour 275 grams of hot water onto grounds in a slow circular motion, let coffee drip down
Step 9: Once brewer is about half empty - pour remainder 180 grams of hot water onto grounds in a slow circular motion
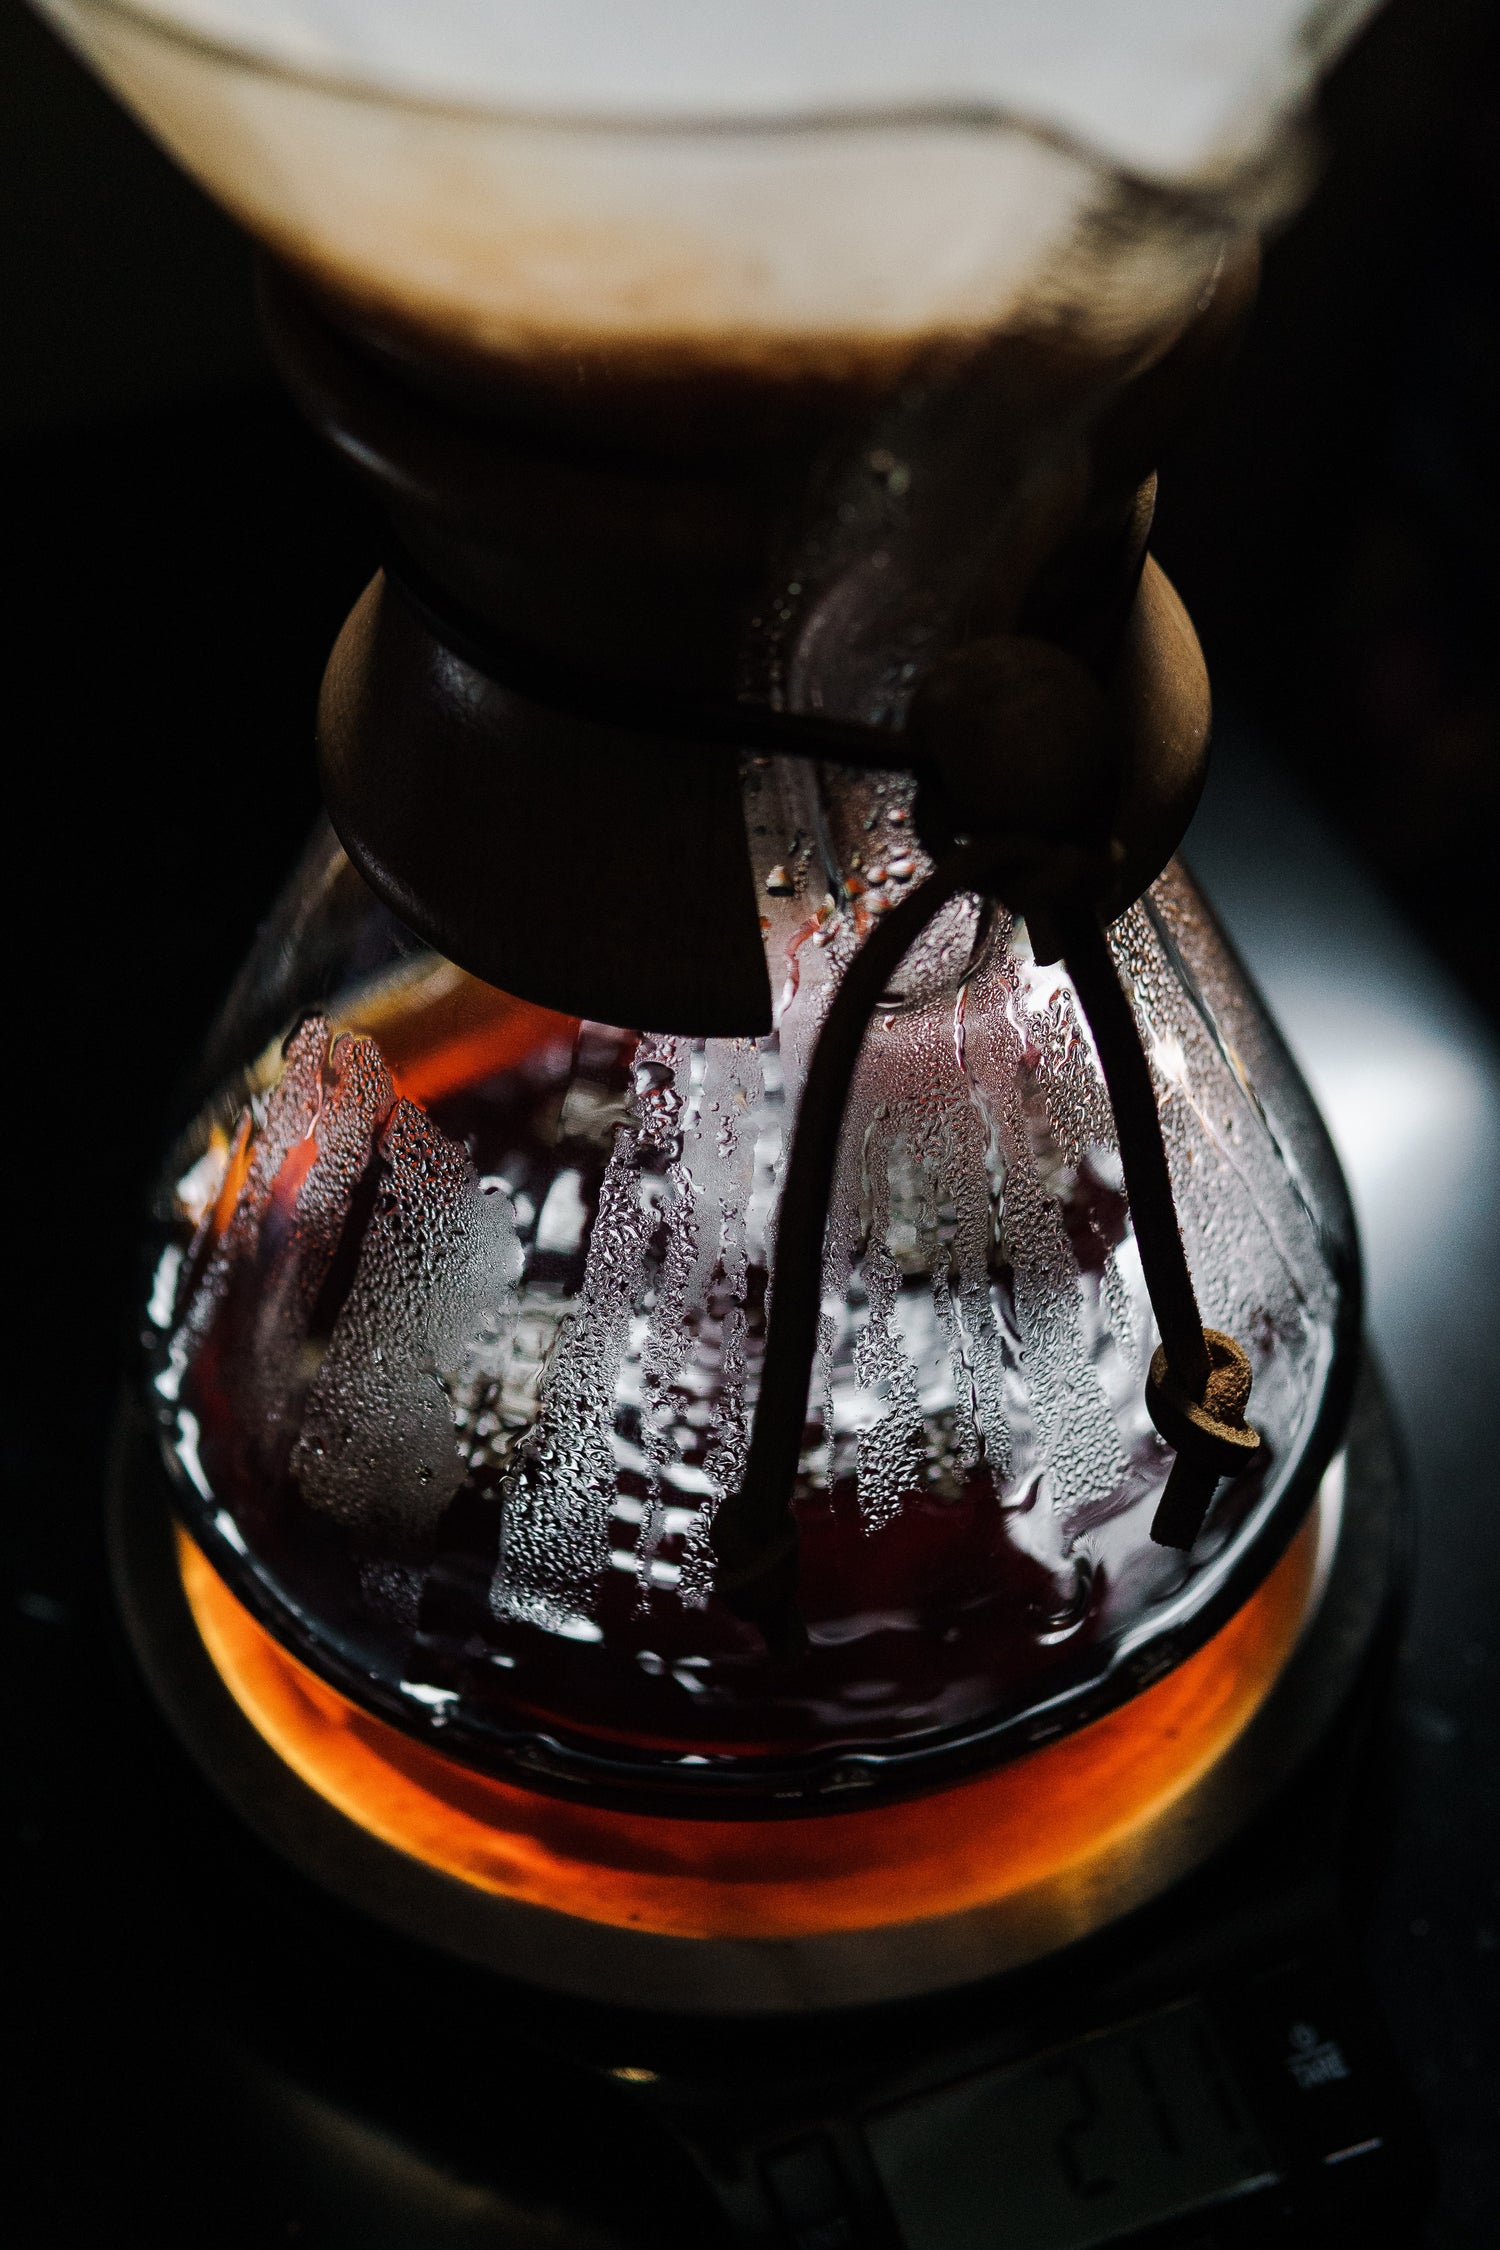
Step 10: Let Coffee Drip until no water is left, your stopwatch should read around 4 minutes, and scale should say 525 grams
Step 11: Enjoy!
Siphon
Step 1: Preheat Filtered Water, it is important to have the water be as purified as possible to optimize your brew, then pour the water into the bottom, globe-like chamber and attach the top chamber
Step 2: Dose 7 grams per 100ml water of Pure Earth freshly roasted coffee beans and grind to a medium grind size finer than beach sand ((500 to 700 microns) **recommend burr grinder)), then add to the top chamber of the siphon
Step 3: Place your heat source under the bottom, light, and watch the boiling water push up through the filter and fill your top chamber
Step 4: Stir the coffee into the water and allow to brew for approximately 1.5-2 minutes
Step 5: Carefully remove the heat source and watch the coffee filter back into the bottom chamber
Step 6: Remove the top chamber carefully by moving it back and forth to break the seal between the glass and rubber
Step 7: Grab your favorite cup, pour your crystal-clear, siphoned coffee, and enjoy!
Moka Pot
Step 1: Preheat Filtered Water (it is important to have the water be as purified as possible to optimize your brew), then pour into bottom chamber and place on a stovetop burner on High heat to bring to a boil
Step 2: Dose 3.5-5 grams per cup (amount depends on the Moka Pot size used; we are using a 6 cup & and dose of 25 grams) of Pure Earth freshly roasted coffee beans and grind to a medium-fine grind size and add to the funnel
Step 3: Carefully remove the bottom chamber from heat source to add the funnel and tightly screw on the top chamber
Step 4: With the lid open or closed, allow the brew to sit on High heat for approximately 1.5-3 minutes. The brew will be complete when you hear a gurgling/hissing sound from the top chamber stem
Step 5: Once the brew is finished, quickly remove the Moka Pot from the heat source and run cold water over the bottom chamber, or dunk into a bowl of cold water, to avoid burning your brew
Step 6: Grab your favorite cup, pour your stovetop espresso-style coffee, and enjoy!
AeroPress
Step 1: Preheat Filtered Water (it is important to have the water be as purified as possible to optimize your brew)
Step 2: Dose 7 grams per 200g of water of Pure Earth freshly roasted coffee beans and grind to a medium-fine grind size. We recommend a burr grinder for optimal consistency in your grind, which results in an even extraction, better cup quality, and overall improved happiness
Step 3: Pull plunger down to the “4” on the standard AeroPress, and dump fresh coffee grounds in
Step 4: Begin pouring boiling water into the AeroPress to bloom (approximately 30g H20). Wait for 30-35 seconds, and continue pouring until you reach 200g water in and ensure that all the grounds are wet
Step 5: (optional) If you so desire, place the paper filter disk (AeroPress Microfilters) in the filter screen and prewet
Step 6: At the 2 minute mark, disturb the extraction by breaking up the crust layer on top and stirring the coffee gently. You can now twist on the paper filter and filter screen
Step 7: After 4 minutes of brewing, carefully remove the AeroPress from the scale and flip it over onto a cup that is on a sturdy and level surface. Begin pressing the plunger to drain and filter your fresh brew!
Step 8: Once empty, pull up slightly on the plunger to avoid dripping any excess, twist the filter screen off and dispose of the grounds
Step 9: Sit back, relax, and enjoy your fun cup of AeroPressed coffee!
Espresso (Automatic)
Please Note:
The Pure Earth Team strongly suggests that you watch a video specific to your machine, as there are many brands- of espresso machines and methods.
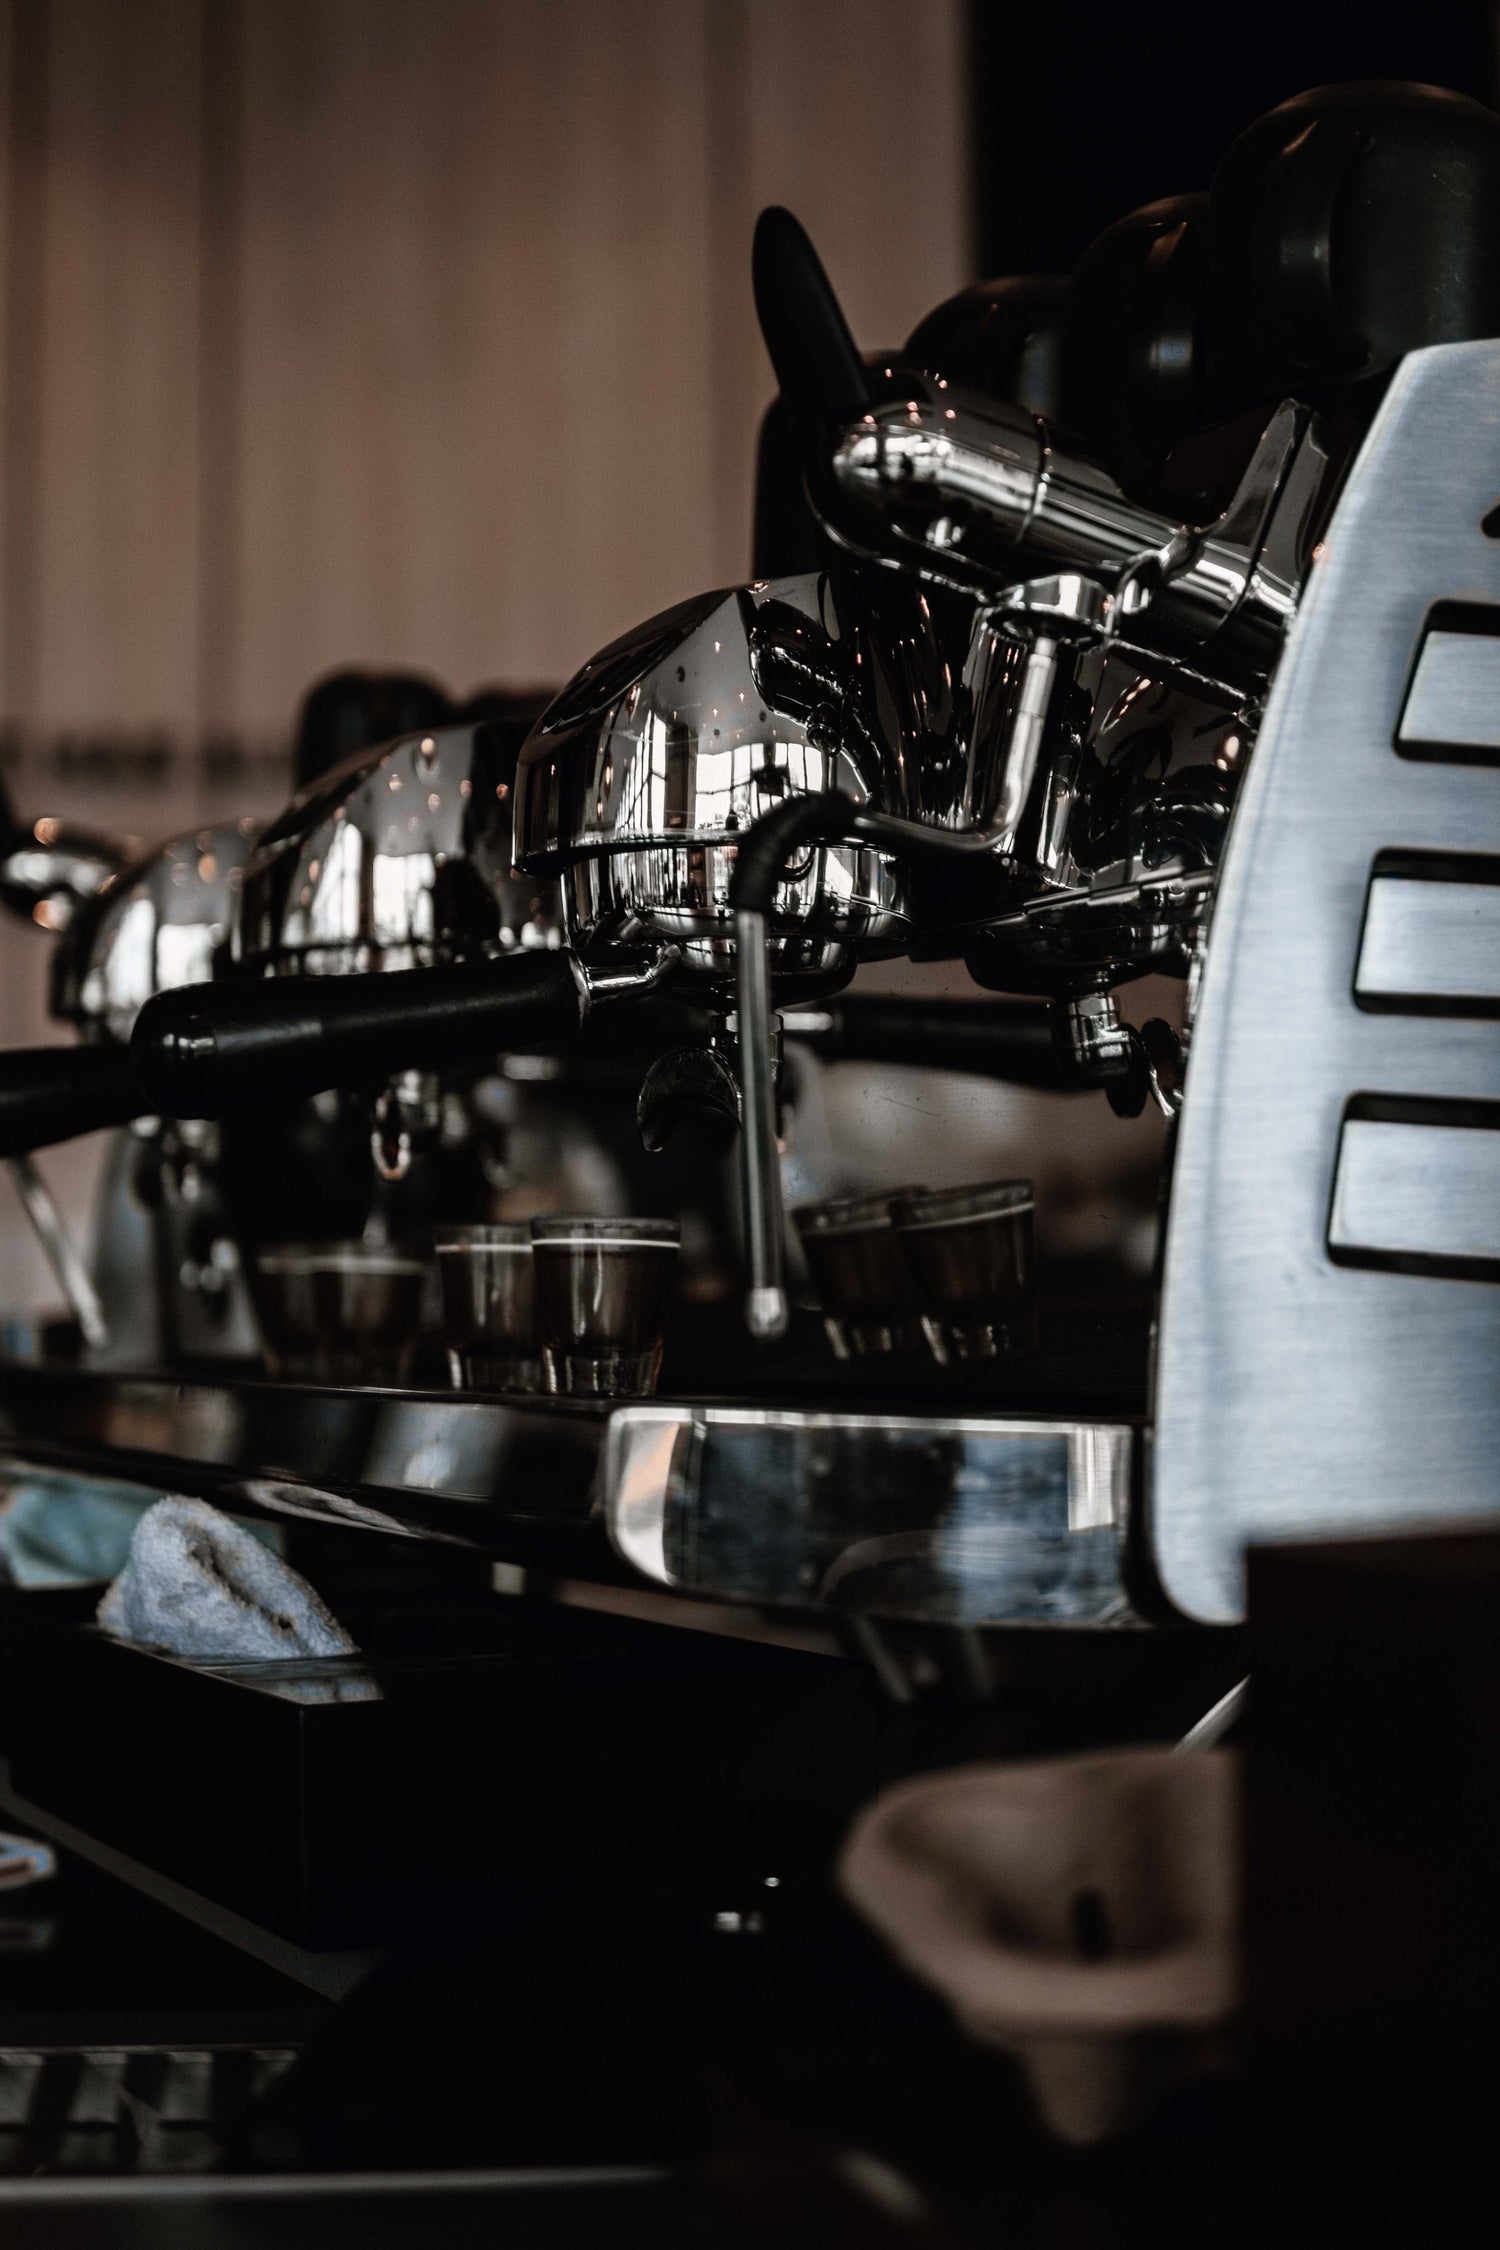
Step 1: Start Machine to Preheat Filtered Water, it is important to have the water be as purified as possible to optimize your brew (195° F to 205° F), normally a machine takes a minute or five to get up to temperature, but commercial machines will take thirty minutes
Step 2: Grind Coffee Beans Fine similar to powder form (400 to 200 microns) **recommend burr grinder
Step 3: If Espresso is a double shot basket, dose 18 grams of freshly roasted espresso beans into basket portafilter, also would recommend using a WDT tool to evenly disperse the grounds
Step 4: Tamp your coffee with a nice even/level tamp with 30lbs of pressure
Step 5: Push double shot button without the portafilter in the machine and run a cycle of water through the group head, making sure the group head is at a good temperature and flushing out all excess build-up from previous pulls
Step 6: Place your portafilter in group head on your machine, and make sure handle is snug in machine
Step 7: Place espresso mug under the portafilter, press the double shot button
Step 8: The espresso ratio should extract 2:1 coffee yield to coffee (grams) so 18 grams of ground beans is a 36 gram yield of espresso, and should extract in about 30 seconds
Step 9: Enjoy!
***If your espresso is extracting in under 30 seconds change your grind size to a finer setting and repeat step process 1-6, if your espresso is hardly coming out then change grind setting to a courser setting and repeat steps 1-6, every espresso will take some dialing in***
Espresso (Manual)
Please Note:
This guide is specific to the Flair Pro II. Flair provides a dosing cup, a funnel for the brew basket, a tamper, and a rubber lid for the water chamber to preheat it.
Step 1: Preheat Filtered Water (it is important to have the water be as purified as possible to optimize your brew)
Step 2: While water is heating, dose 18 grams of Pure Earth freshly roasted coffee beans and grind to a fine grind size.
Step 3: Before removing the funnel, give the brew basket a gentle shake, swirl, or tap on the counter to level the coffee. Ensure that no large clumps of coffee are present, then tamp the coffee so that it is firmly packed and is level and place the filter screen on the puck. Place the basket in the Flair.
Step 4: Now that the water is ready, grab the water chamber (and it’s rubber “lid”) and your choice espresso cup and preheat them both for approximately 60 seconds.
Step 5: Drain the water from the chamber and cup, then press the water chamber onto the brew basket with the prepped puck and place your cup underneath.
Step 6: With your kettle at the proper temperature (hotter is better for lighter roasts with the Flair), fill the water chamber until the water level is at or slightly above the metal lip on the plunger flange.
Step 7: Place your plunger or pressure gauge onto the water chamber and get a comfortable grip on the handle to begin extracting your shot.
Step 8: Begin pulling the lever until you feel some resistance, then hold it for around 5 seconds to pre-infuse the puck (if you have the pressure gauge, hold the pressure around 2 bar) until a drip or two comes out the bottom. *Note* - if no drips are present, your grind may be too fine and you’ll need to adjust your grind size
Step 9: After pre-infusion, ramp up the pressure to 6-9 bar to extract a uniform espresso. The extraction time varies on the Flair compared to automatic espresso machines, however, you will be able to identify if something is off.
Step 10: Once the shot has been pulled, remove the assembly, drain any excess water, dump the spent puck out, rinse the basket and water chamber, and let dry. Next, grab your Doppio Espresso and give it a stir with your favorite coffee spoon, and enjoy coffee in its purest form!
Collapsible content
Soil
Coffee trees can be grown in many different types of soils, however, the two best soils that produce healthy coffee are deep sandy loam, typically made up of sand and a varying amount of silt and clay, or volcanic red earth soil. Red soil types typically develops in warm, temperate, and humid climates and contains large amounts of clay. It is generally derived from the weathering of ancient crystalline and metamorphic rock, and are named after their rich red color, which is a result of their high iron content.
Plant
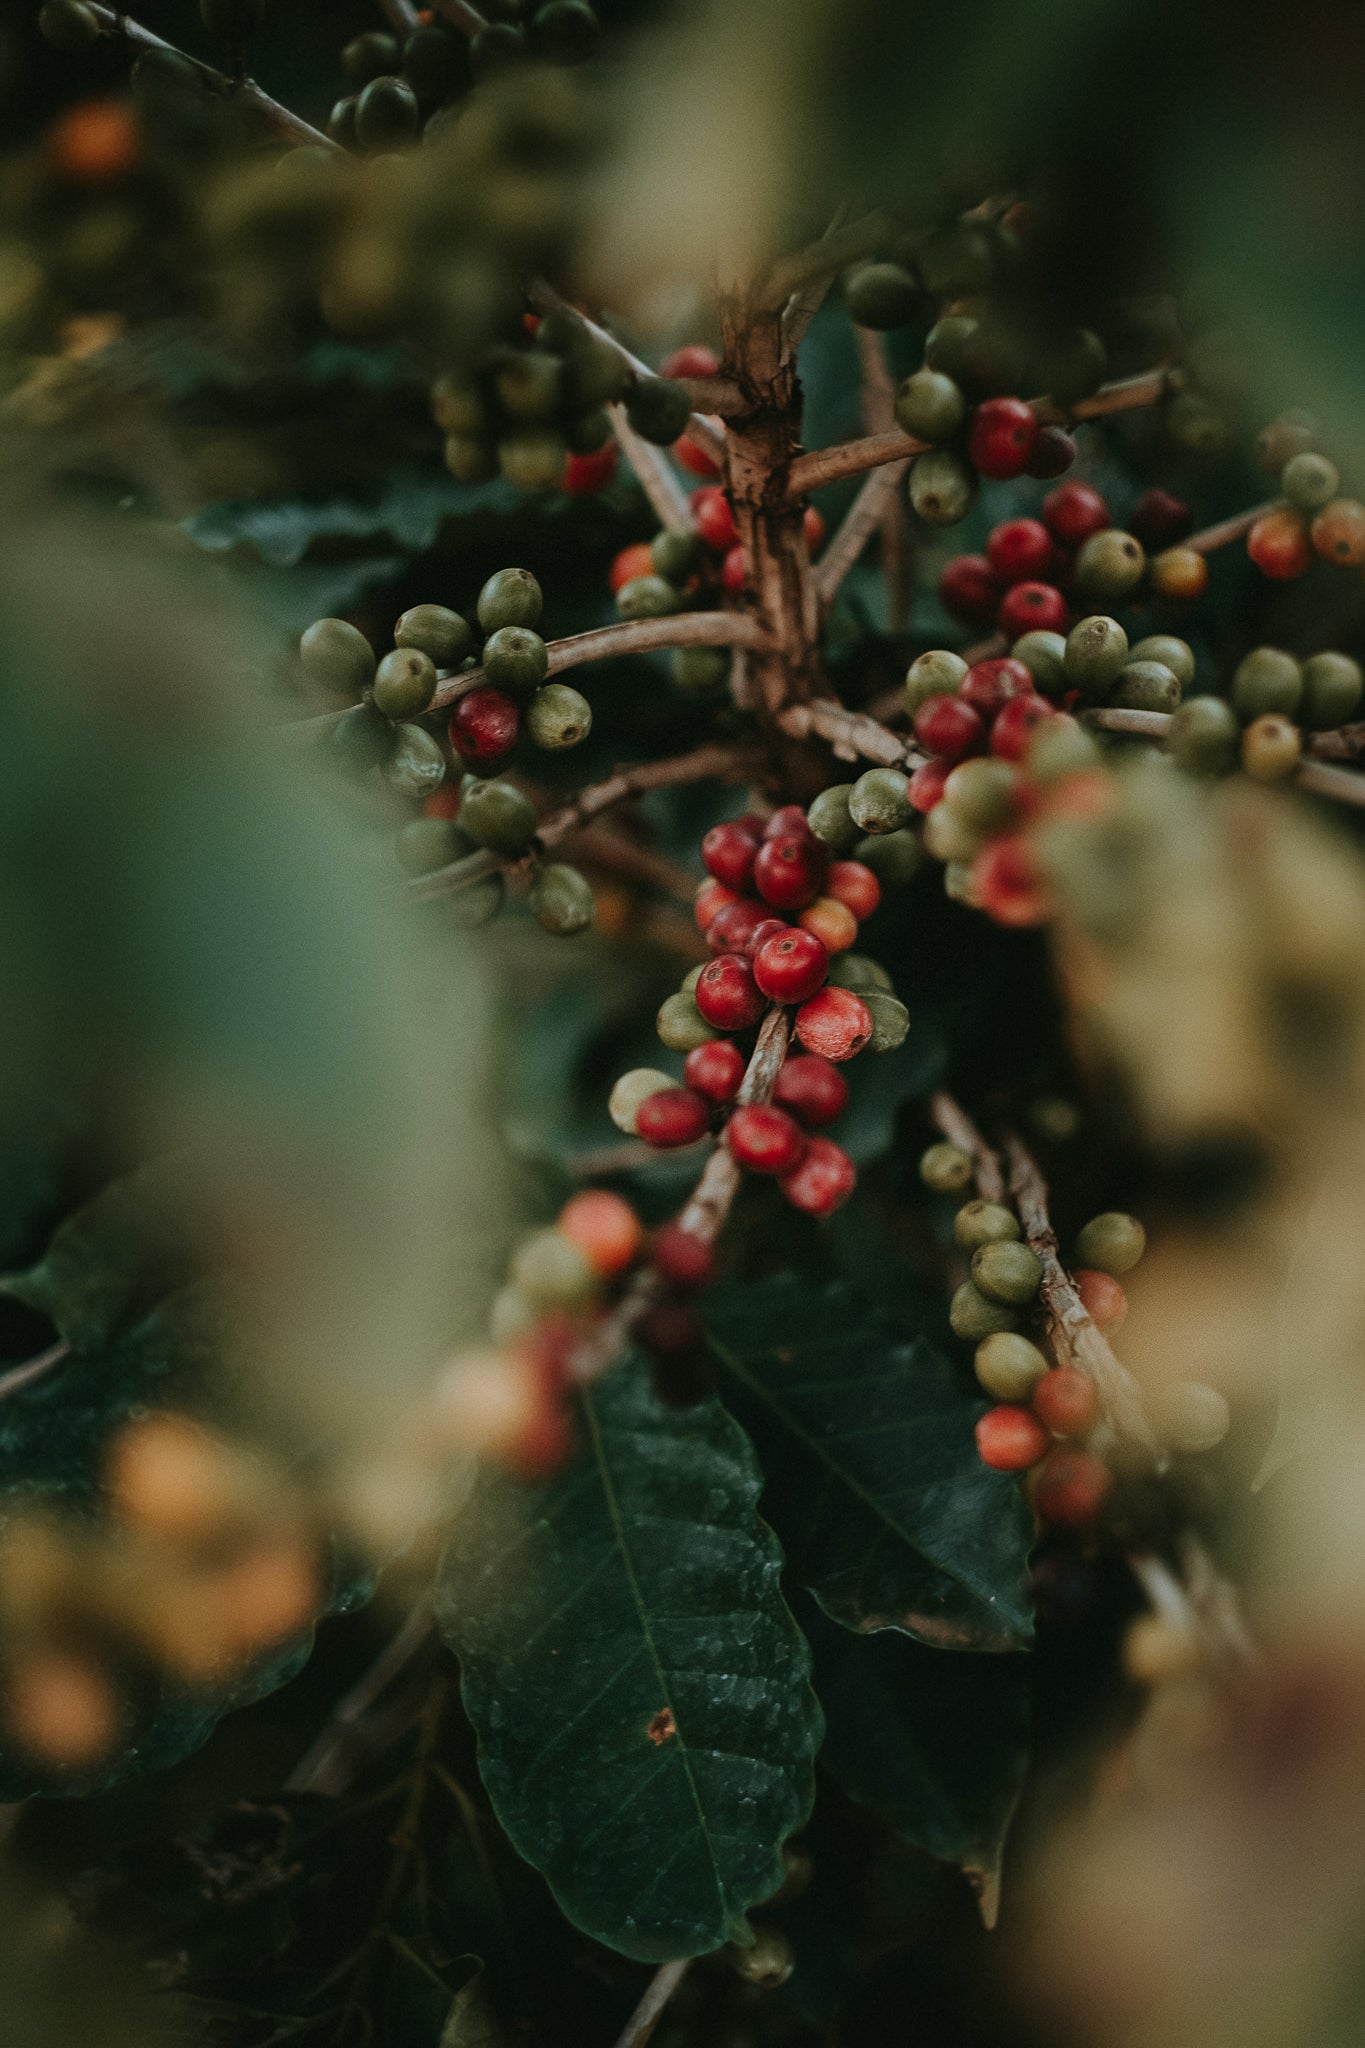
The coffee tree could be a study all on its own, with studies from soild types to species, to altitude effects, and so much more. The primary points to understand about coffee plants is that they are similar looking in the sense that they are smaller (around 6 feet tall), with a thin trunk that has densely dressed branches. From species to species, the looks of the plants change in their height, leaf shape and size, and fruit. Coffee plants start their lives as seedlings that sprout and take several years to ever produce fruit.
Most trees harvest once a year, with some regions harvesting twice. In general, the second harvest is smaller and not quite as high in quality as the first harvest, but is not always guaranteed as it is all based on the rainfall for the year. A harvest comes after nine months, which gives the plant time to grow new fruit, ripen, and be ready for a hand-picked harvest season.
Coffee plants face multiple pests and diseases, of which the most common are the Coffee Berry Borer, a small beetle that bores a hole within the cherries, lays eggs inside them, and, once hatched, feeds on the cherries. Along with the borer, coffee plants must survive a fungus known as Coffee Leaf Rust that diminishes the ability for the plant to photosynthesize. As a result, the leaves whither and fall off, ceasing growth, and eventually killing the tree.
Elevation
As a consumer of delicious coffee, elevation is a very important aspect to understand as the effects it has on the flavors one tastes is paramount.
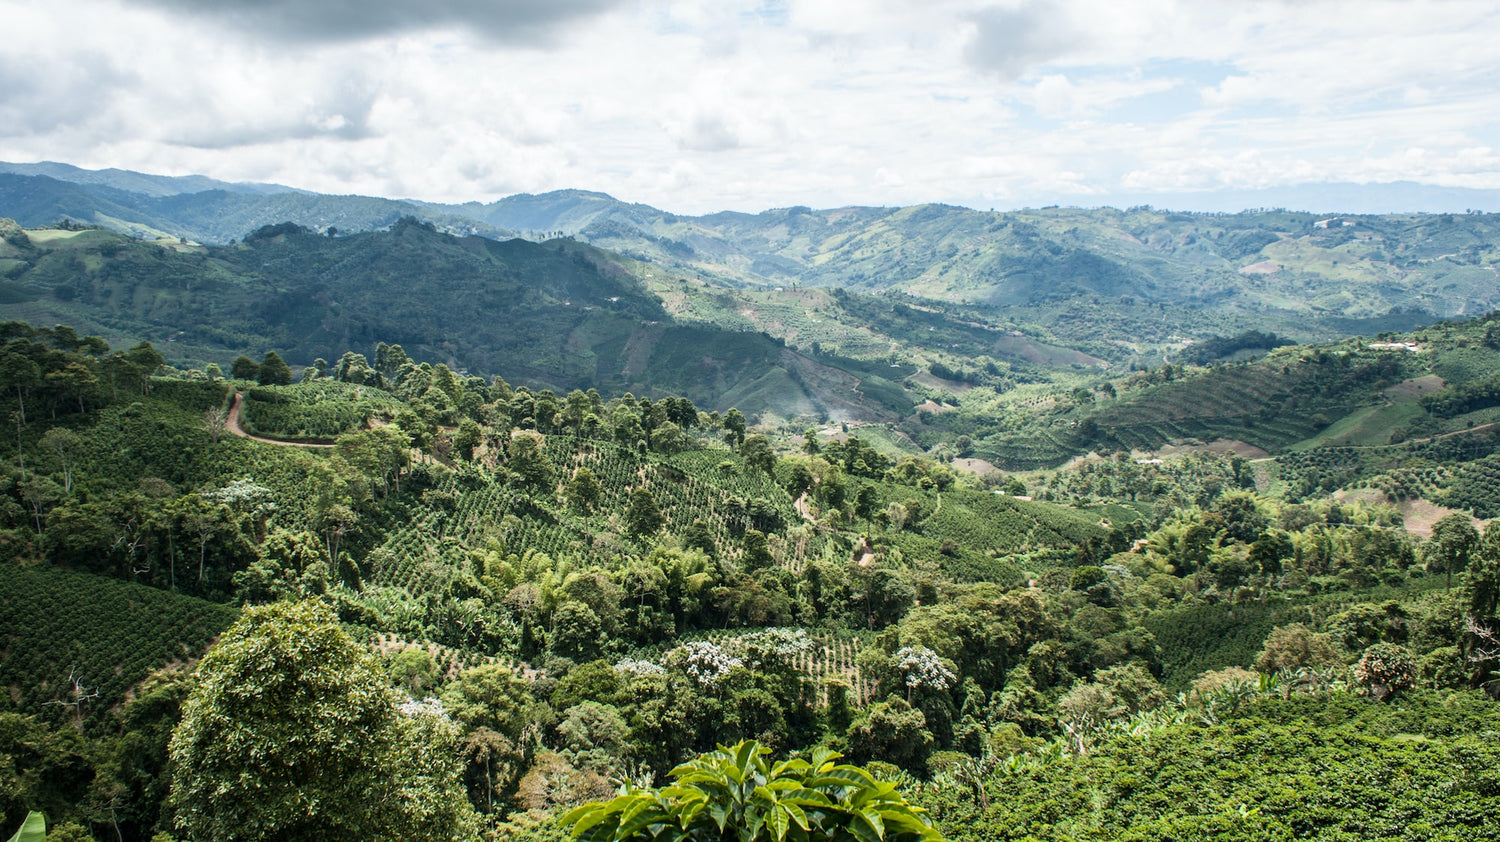
The simplest way to understand coffee, in terms of elevation, is the higher up the plant is the more complex the flavors, and the lower the plant is the less complex the flavors. This is due to the density of oxygen available during the flowering and ripening stages of the plant's growth process. During the tree's growth, the presence of oxygen is called "aerobic respiration" while the absence of oxygen is called "anaerobic respiration," and at lower altitudes, where the oxygen is more dense, the plant will produce a higher yield at harvest, but often at a lower quality flavor profile. At higher altitudes, oxygen is less dense and creates lactate during anaerobic respiration, which adds many complexities within the coffee seeds. The time it takes to grow a dense coffee is longer than at lower altitudes, and thus the result is a dense flavor profile when roasted and brewed. Flavors in coffee such as sweetness, bright acidity, creaminess, and other unique notes are typical in higher elevation coffees.
Green Bean
Contrary to popular knowledge, coffee "beans" are technically the seeds of the coffee plant's cherries. When harvested as fruits, farmers primarily process the fruits via natural or washed processes.
The natural process is where the fruits are scattered across a large, cement patio and allowed to sun dry to decompose the fruit off of the seed. This process utilizes decomposition and fermentation that metabolizes the sugars from the fruit, which will change how the roasted coffee tastes. After about two weeks in the sun, the farmer then takes the decomposed cherries and washes them until only the seed remains. They are then dried once again.
The washed process is where the cherries are dumped on a table and literally washed with water so that the fruit pulp and skin is removed. From there, the washed seeds are laid out in the sun to dry for about a month. There are no changes to the seeds flavors as the result of a washed process, so the only factor influencing the flavor of the brewed coffee is the seed itself.
Types of Beans
There are four primary types of beans in the world of coffee consumption: Arabica, Robusta, Liberica, and Excelsa.
Robusta (Coffea caniphora)
While Arabica coffee beans are most prevelant, it's important to talk about Robusta beans first. More often than not, Robusta coffee beans are treated like the "ugly duckling" of coffee, however, modern science (sequencing of genes) has shown that these beans are actually a parent of Arabica. It is probable that the Robusta plant crossed with a separate coffee plant species to create Arabica.
Robusta coffee trees grow at lower altitudes and different climates that are generally hotter than Arabica coffee trees. They are also more disease resistant than Arabica, which contributes to reliable production of the beans.
Despite its ease of growth, compared to Arabica, Robusta beans tend to have less pleasant flavor notes that make a not-so-great cup of coffee. And when talking about caffeine content, Robusta is approximately double than that of Arabica. All these factors contribute to a more bitter tasting cup, and for that reason, it is not sought after in the craft coffee space.
Arabica (Coffea arabica)
The most commonly consumed coffee is known as the Arabica bean. Making up more than 60% of the world's coffee consumed annually, the Arabica plants are grown at higher altitudes that possess abundant shade and consistent precipitation. Although more disease-prone than Robusta, Arabica coffee, the care for these trees tends to be fairly easy, so long as they are happy with their climate.
The flavor profiles of the Arabica beans varies from region to region, but generally consist of a sweeter, pleasantly acidic, and intricate cup of coffee.
Liberica (Coffea liberica)
Liberica coffee beans are larger than other types, and are known for their distinctly unique shape, which is longer and more pointy at the ends, like an elongated football. These coffee plants thrive in lower altitudes and produce a coffee taste that is notable fruity in aroma, and has a "woody" taste.
Excelsa (Coffea excelsa)
Grown in mostly Southeastern Asian countries, this type grows on rather tall coffee trees, as large as 30 feet tall, and recently, has been identified as a member of the Liberica coffee family, which is still a debated topic. It contributes about 5% of coffee consumption globally, and is said to have a complex flavor profile, posessing an acidic and fruity body.

